Setup Django
Introduction
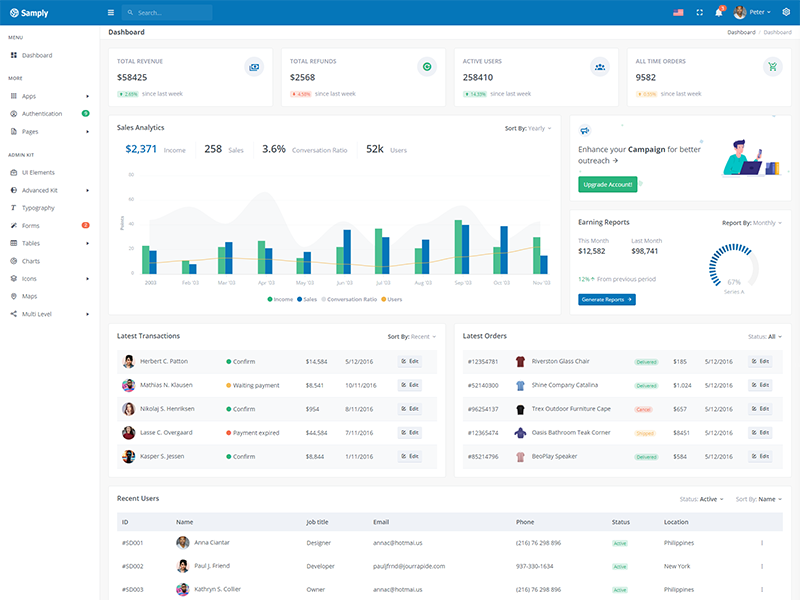
Samply is a fully featured premium admin dashboard template in Django with developer-friendly codes.
📁 Folder & Files Structure
├── Admin   // Environments Folder
    ├── admin_kit
    ├── apps
    ├── authentication
    ├── mail
    ├── pages
    ├── samply
    ├── static
        ├── css
        ├── fonts
        ├── images
        ├── js
        ├── lang
        └── libs
    ├── templates
    ├── db.sqlite3
    └── manage.py
Prerequisites
Please follow below steps to install and setup all prerequisites:
-
Python
Make sure to have the Python installed & running in your computer. If you already have installed Python on your computer, you can skip this step. Please use Python version 3 or if you are using Paython version 2 then make sure to run all the below commands with python insted of python3.
For windows
- Download python from windows store
- Select the Python's version to download.
- Click on the Install Now
- Installation in Process
For Linux
- sudo apt update
- sudo apt install python3
-
Virtualenv
Make sure to have the
virtualenvinstalled globally & running on your computer. If you already have installed on your computer, you can skip this step.Virtualenv installation command for linux & mac os
python3 -m pip install --user virtualenv
Virtualenv installation command for Windows
py -m pip install --user virtualenv
Installation
-
Install Prerequisites
Make sure to have all above prerequisites installed & running on your computer
| Command | Description |
|---|---|
python3 -m venv environment_name
|
Create Virtual Environment on linux & mac OS |
python -m venv environment_name
|
Create Virtual Environment on Windows OS |
source environment_name/bin/activate
|
Activate Environment on Linux & mac OS |
environment_name\Scripts\activate
|
Activate Environment on Windows OS |
pip3 install django
|
Install Django on linux & mac OS |
pip install django
|
Install Django on Windows OS |
After you finished with the above steps, you can run the following commands into the terminal / command prompt from the root directory of the project to run the project locally:
Install few libraries
pip3 install django-embed-video
pip3 install django-session-timeout
pip3 install django-password-validators
pip3 install django-js-routes
pip install django-crispy-forms
Database Connectivity
Goto settings.py of main directory and update below settings.
    DATABASES = {
    'default': {
        'ENGINE': 'django.db.backends.#databaseservername#',
        'NAME': 'Your Database Name',
        'USER' : 'Database User Name',
        'PASSWORD' : 'Your Password',
        'HOST' : 'Write down Host',
        'PORT' : 'Write down port',
    }
}
Run below command for database migration
For Windows: python manage.py migrate
For Linux: python3 manage.py migrate
To create a superuser run the below command
python manage.py createsuperuser
enter username Your Username
enter your Email Address
enter your Password
enter your Password again
Run below command for run your project
For Windows: python manage.py runserver
For Linux: python3 manage.py runserver
To load static files
Go to Samply/setings.py and add following command:-
STATIC_URL = '/static/'
STATICFILES_DIRS = [os.path.join(BASE_DIR,'static')]
STATIC_ROOT= os.path.join(BASE_DIR,'assets')
python manage.py collectstatic
Authentication Configuration
Windwos Install Package:- pip install Django-Verify-Email
Linux Install Package:-pip3 install Django-Verify-Email
SMTP CONFIGURATION
EMAIL_BACKEND = 'django.core.mail.backends.smtp.EmailBackend'
EMAIL_HOST = 'smtp.gmail.com'
EMAIL_PORT = 587
EMAIL_USE_TLS = True
EMAIL_HOST_USER = '#####YOUR EMAIL ADDRESS########'
EMAIL_HOST_PASSWORD = '#####YOUR HOST Password########'
DEFAULT_FROM_EMAIL = '#####YOUR EMAIL ADDRESS########'
SERVER_EMAIL = '#####YOUR EMAIL ADDRESS########'
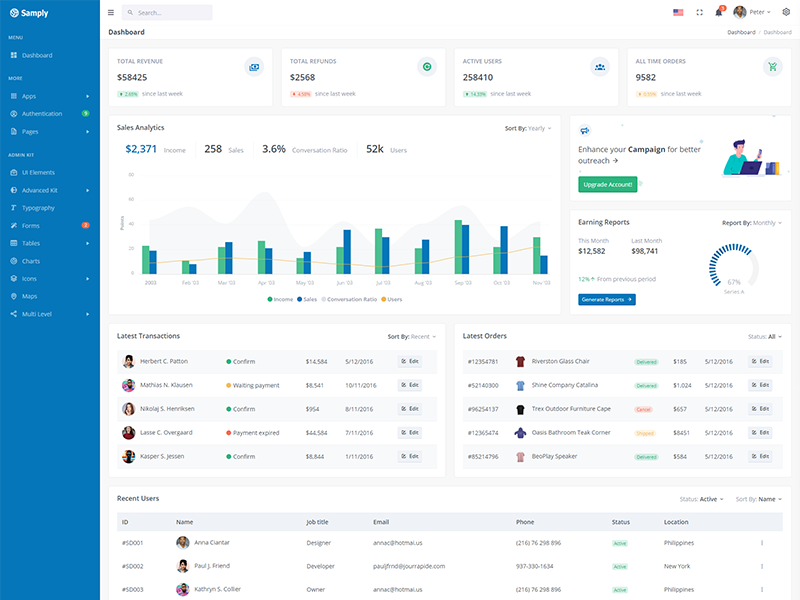
Light Version
Step - 1 -> Goto Admin\templates\partials\base.html
Step - 2 -> Add attribute into the body tag [data-layout-mode="light"]
Example -> <body data-layout-mode="light" >
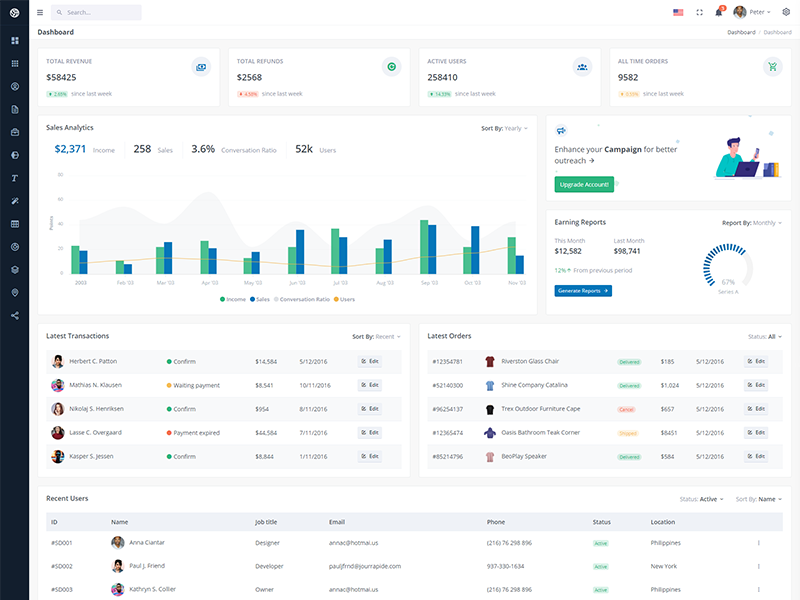
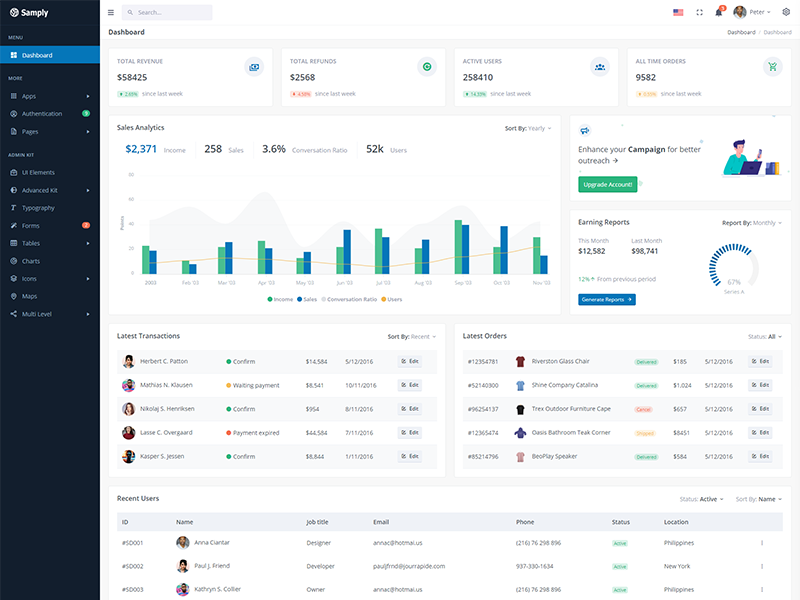
Dark Version
Step - 1 -> Goto Admin\templates\partials\base.html
Step - 2 -> Add attribute into the body tag [data-topbar="dark" data-layout-mode="dark" data-sidebar="dark" ]
Example -> <body data-topbar="dark" data-layout-mode="dark" data-sidebar="dark">
RTL Version
Step - 1 -> Goto samply\templates\partials\base.html
Step - 2 -> Add attribute into the HTML tag [lang="en" dir="rtl"]
Example -> <htmllang="en" dir="rtl" >
How to use pre-built layouts?
Each of the layout options is provided below with
steps you would need to perform in the Admin/templates/partial/base.html:
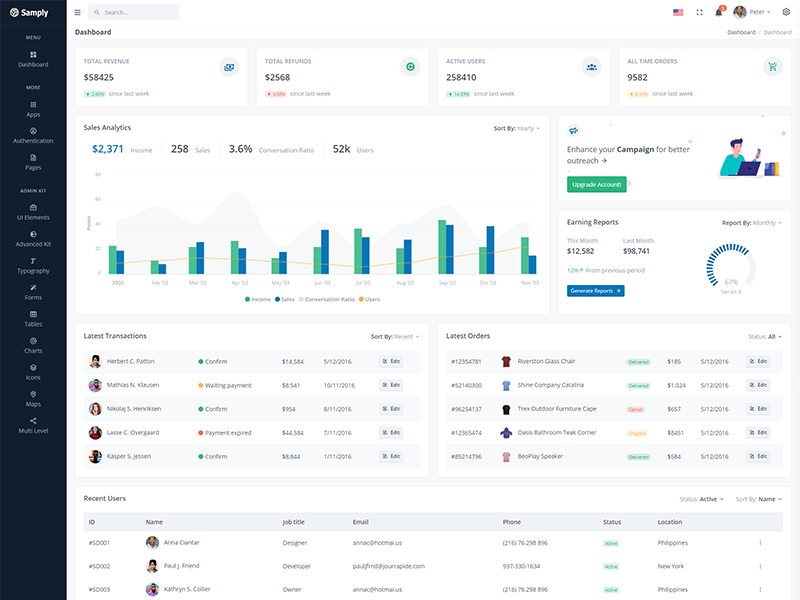
Light Sidebar
Remove data attributedata-sidebar="light" body element to
have light sidebar.
Compact Sidebar
Keep your body element with data attributedata-sidebar-size="md" E.g.
<body data-sidebar-size="md">
to have compact sidebar.
Icon View Sidebar
Keep your body element with data attributedata-sidebar-size="sm" E.g.
<body data-sidebar-size="sm">
to have small sidebar.
Boxed Layout
Keep your body element with data attributedata-layout-size="boxed" E.g.
<body data-layout-size="boxed">
to have boxed layout.
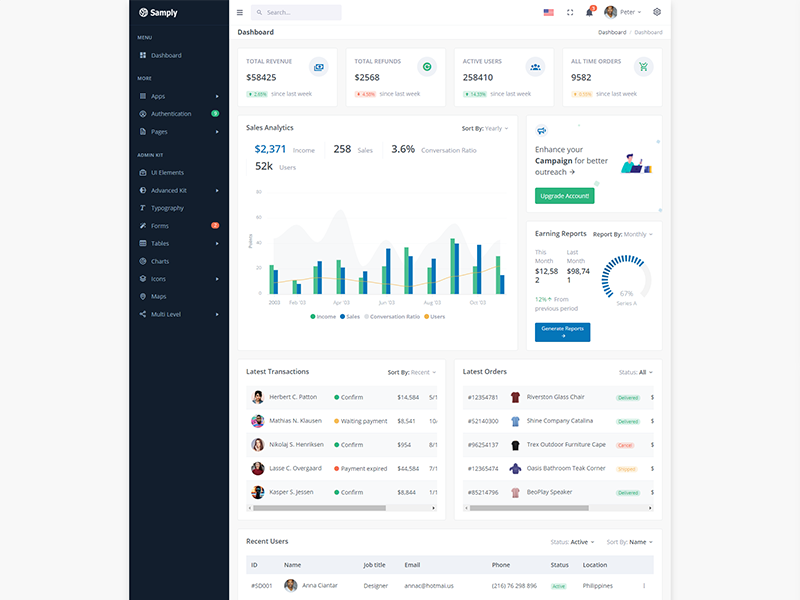
Brand Sidebar
Keep your body element with data attributedata-sidebar="brand" E.g.
<body data-sidebar="brand"> to
have colored sidebar.
Scrollable Layout
Keep your body element with data attributedata-layout-scrollable="true" E.g.
<body data-layout-scrollable="true"> to
have scrollable layout.